Loading... # 黑群晖折腾记(一) 暴风二期安装黑群晖DS3617 ## 简介 从一个多月前就准备入手暴风,由于资金等各种原因迟迟没有上车,最后在回家前期终于狠下心来在某鱼上入了一台暴风二期。 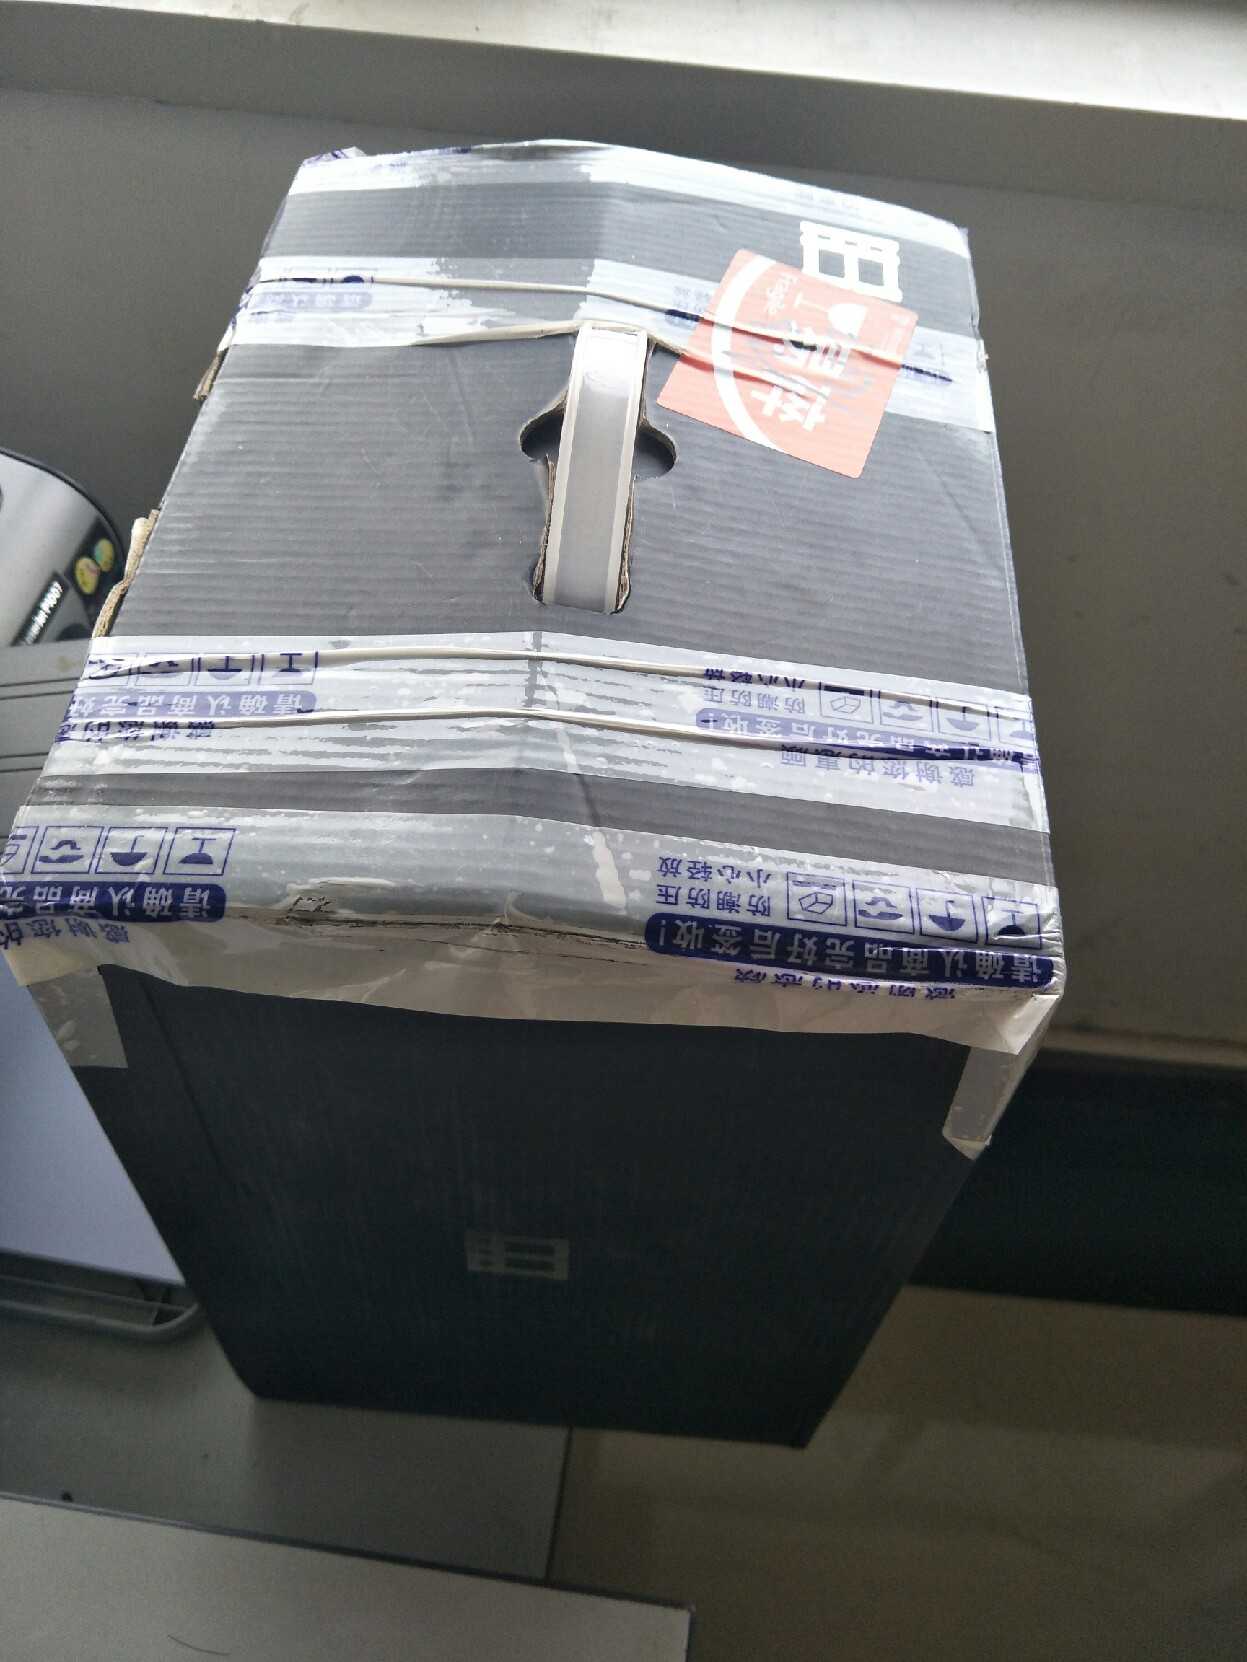  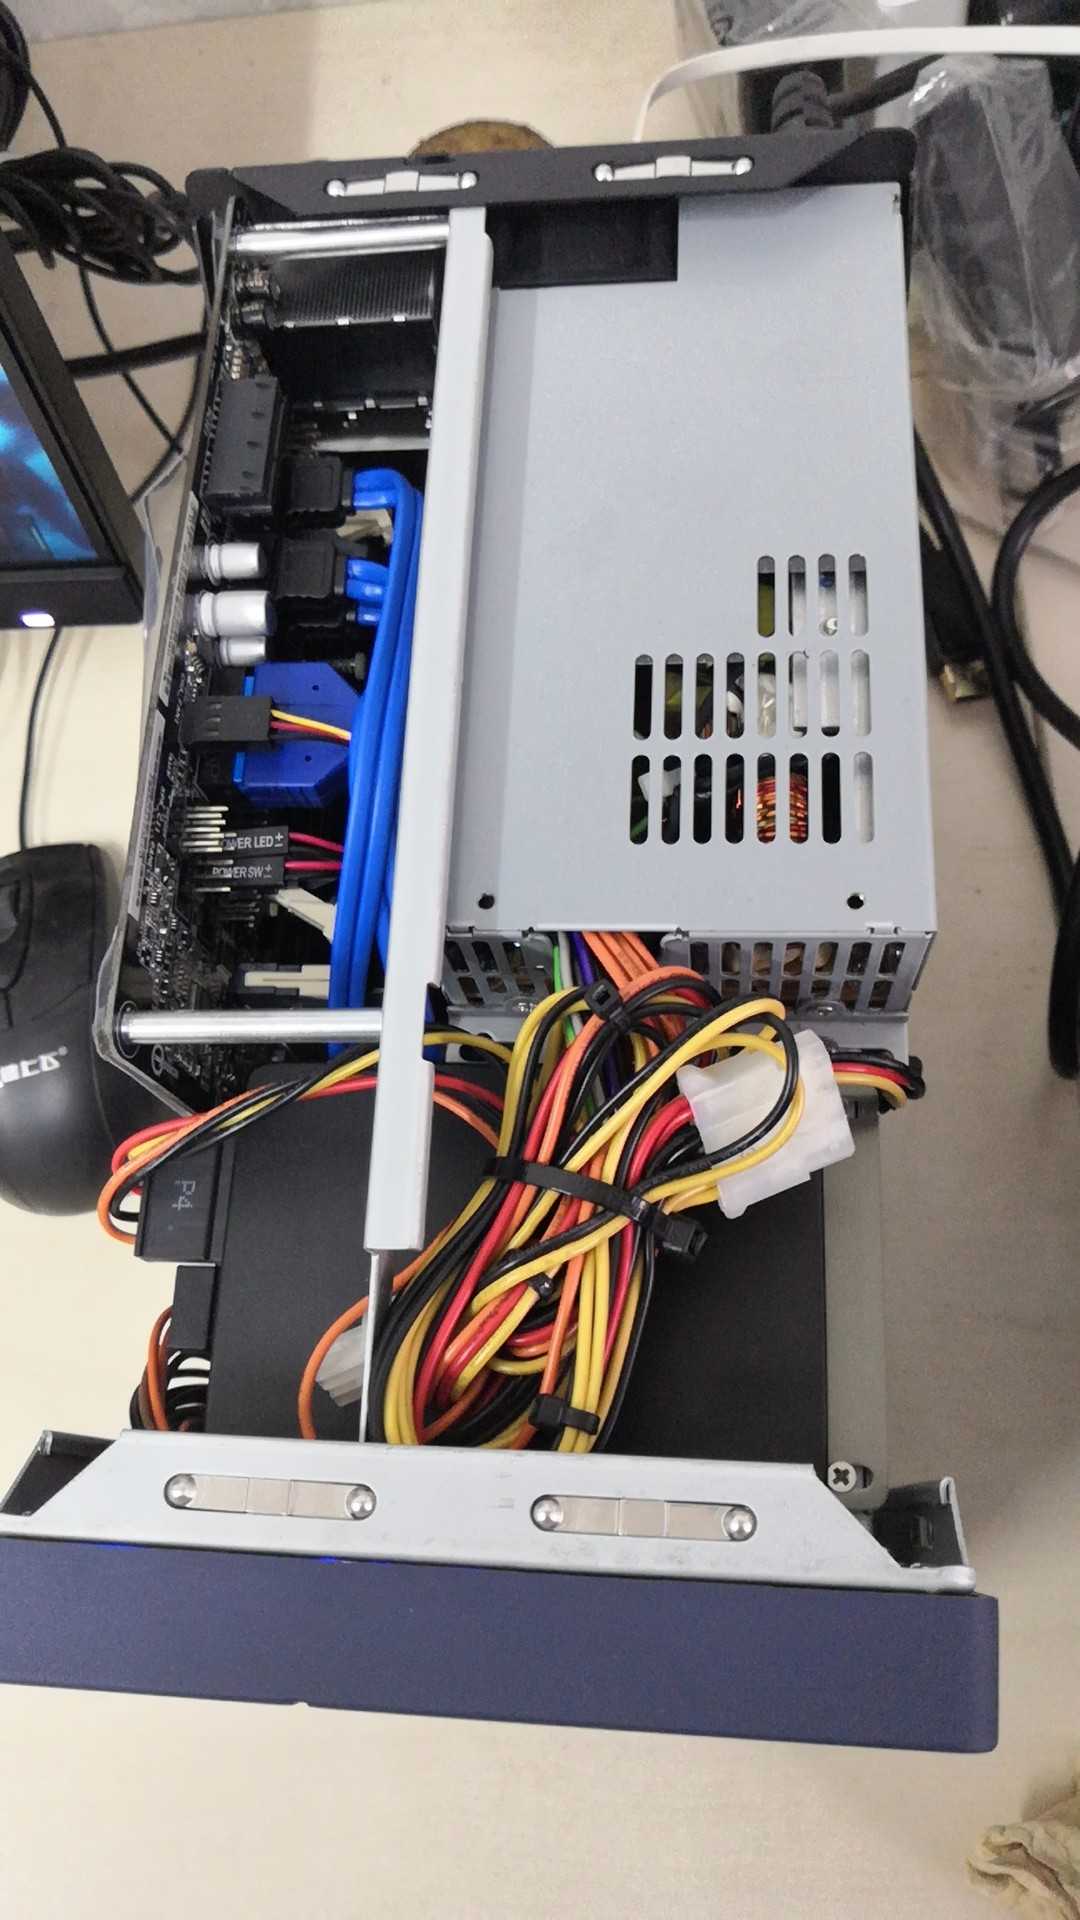 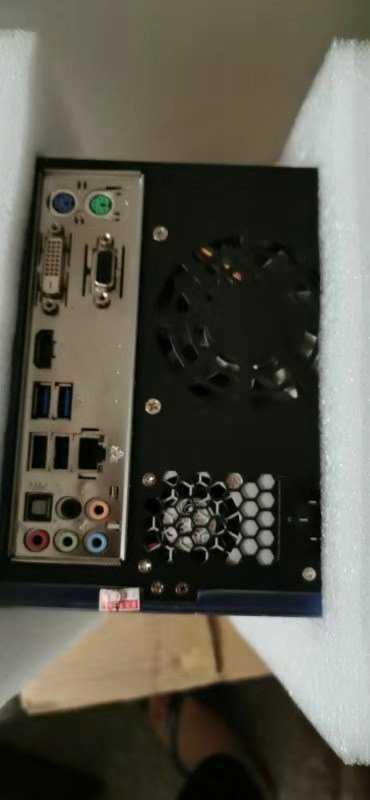 到家后迫不及待的开箱拆机,然后开始了我的折腾之路! ## 安装系统 首先,我们需要给机器装上NAS系统,这里我选择的是比较热门的黑群晖系统。 **安装黑群晖系统的工具** * img写入工具 [DiskImage](/usr/uploads/2020/01/DiskImage-V1.6-WinAll.exe "DiskImage") * 群晖引导文件 [synoboot](/usr/uploads/2020/01/synoboot.img "synoboot") * DS3617系统 [自行去群晖官网下载](https://www.synology.cn/zh-cn/support/download/DS3617xs#firmware "自行去群晖官网下载") * 查询U盘pid,vid工具 [ChipEasy](/usr/uploads/2020/01/ChipEasy.chs.v1.6.exe "ChipEasy") * U盘一个 ### 制作黑群晖启动盘 利用img写入工具将在群辉官网下载好的引导镜像写入U盘中 点击write Image,选择你的U盘(`Phtsical Disk开头的`)  接着点击浏览,选择下载好的synoboot引导 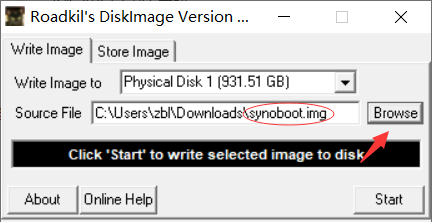 点击start,静待系统写入完成!!! ### 更改Pid,Vid 系统写入完成后一定要更改引导文件中的pid,vid !!! 打开ChipEasy,这个软件 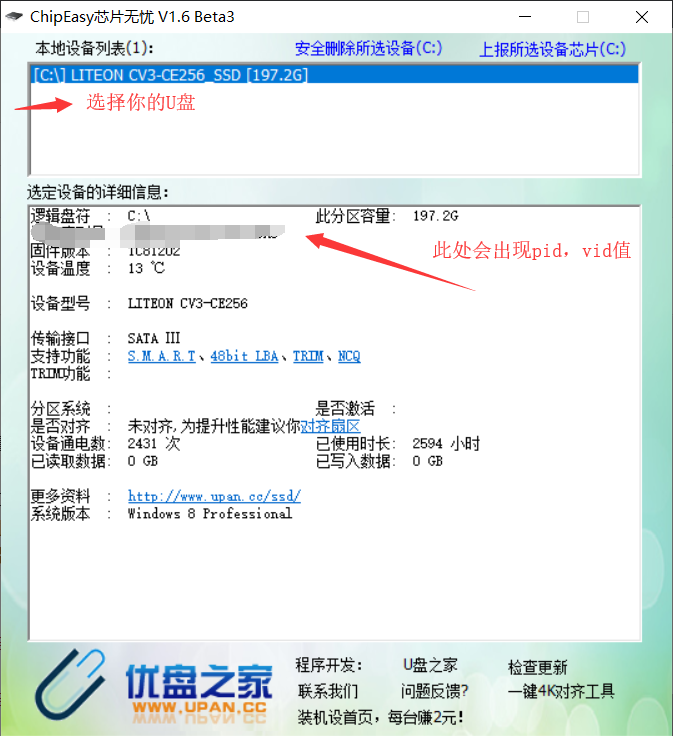 然后打开U盘中的`grub.cfg`这个文件,没记错的话应该是在EFI这个文件夹下吧。 打开该文件(打开方式可以选用记事本打开),找到如下几行 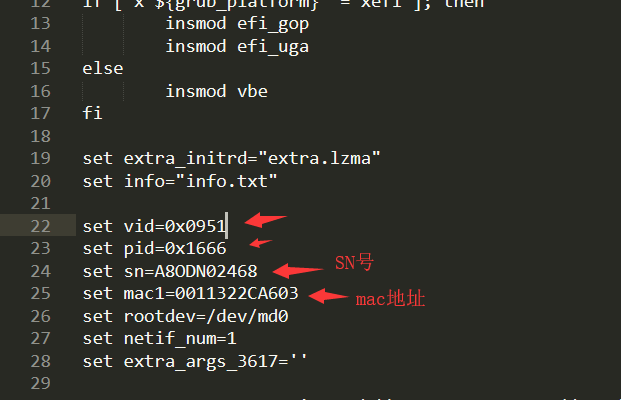 将pid和vid改为刚刚查到的(0x不要删掉,只用改后四位数),sn号和mac地址不用管(洗白才会用到) --- ### 更改BIOS 系统写入完成后我们需要进行相应的BIOS设置,开机按F2进入BIOS系统。 据网上所说j3455这块主板需要把配置改成如下所示内网传输才能跑满千兆 (实测该方法对我用处不是很大,目前内网上传20-60MB/s,下载稳定110MB/s ,下载能达到千兆,而上传不知道为何速率就是上不去) 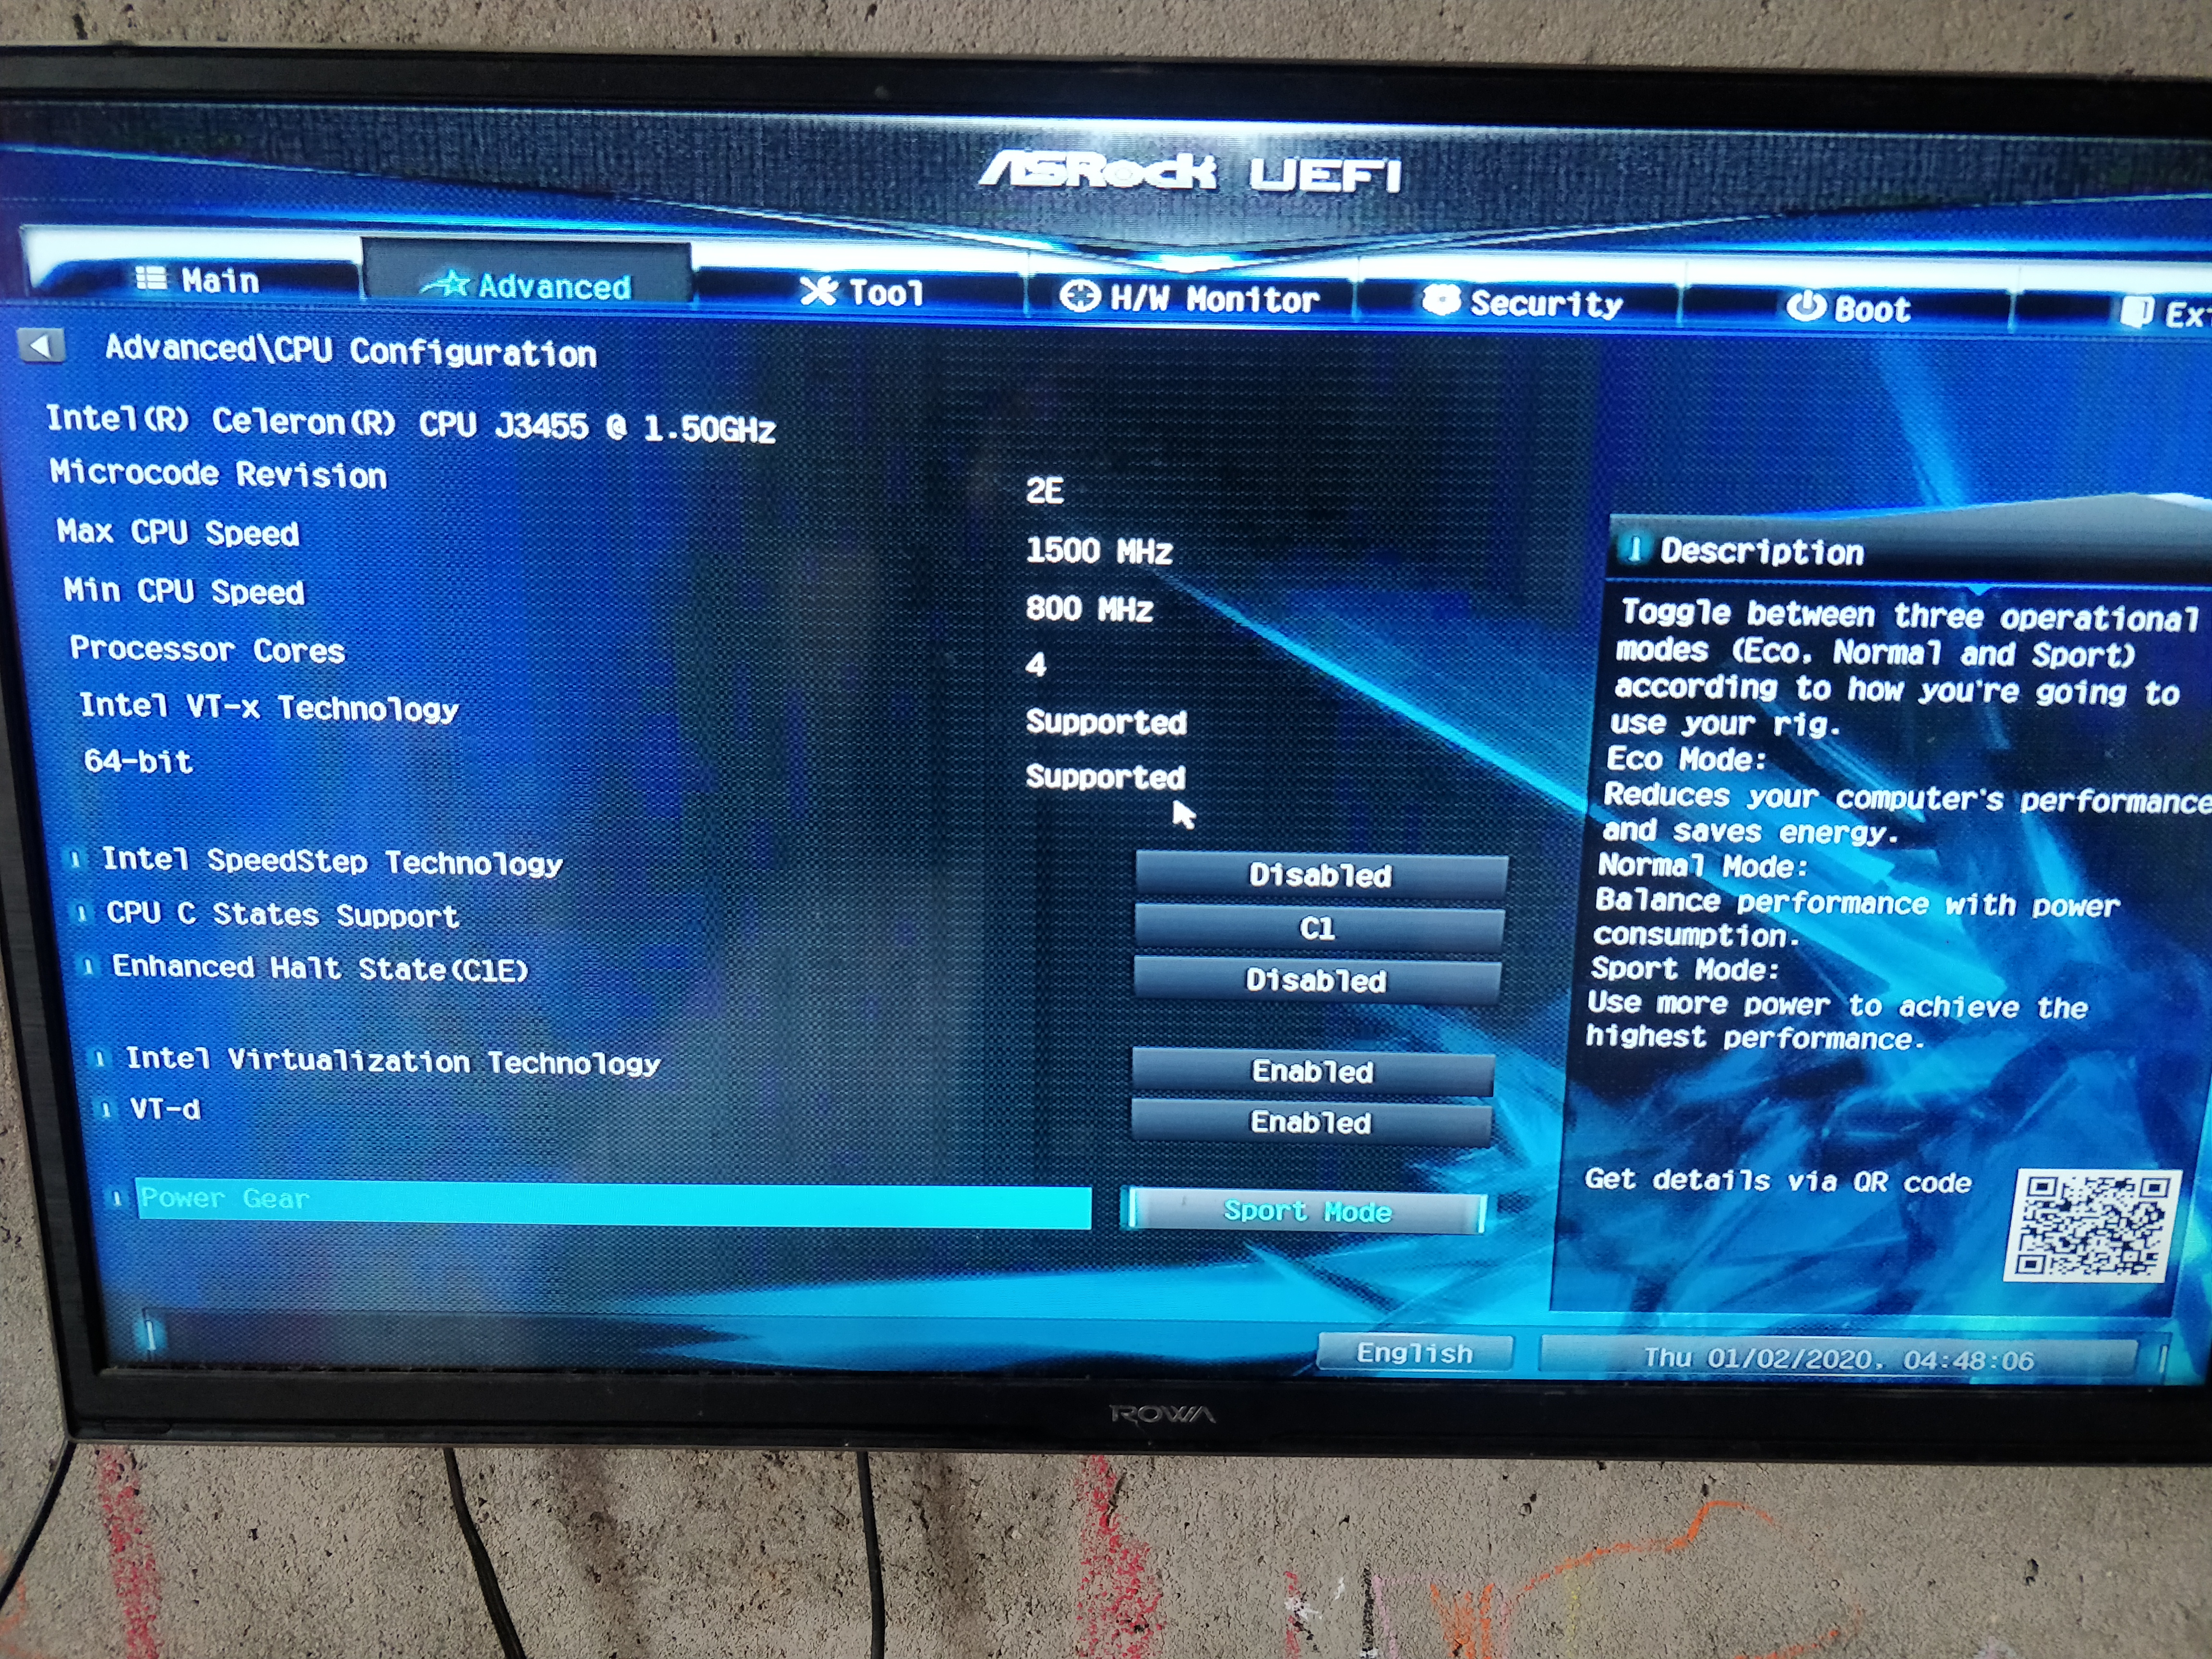 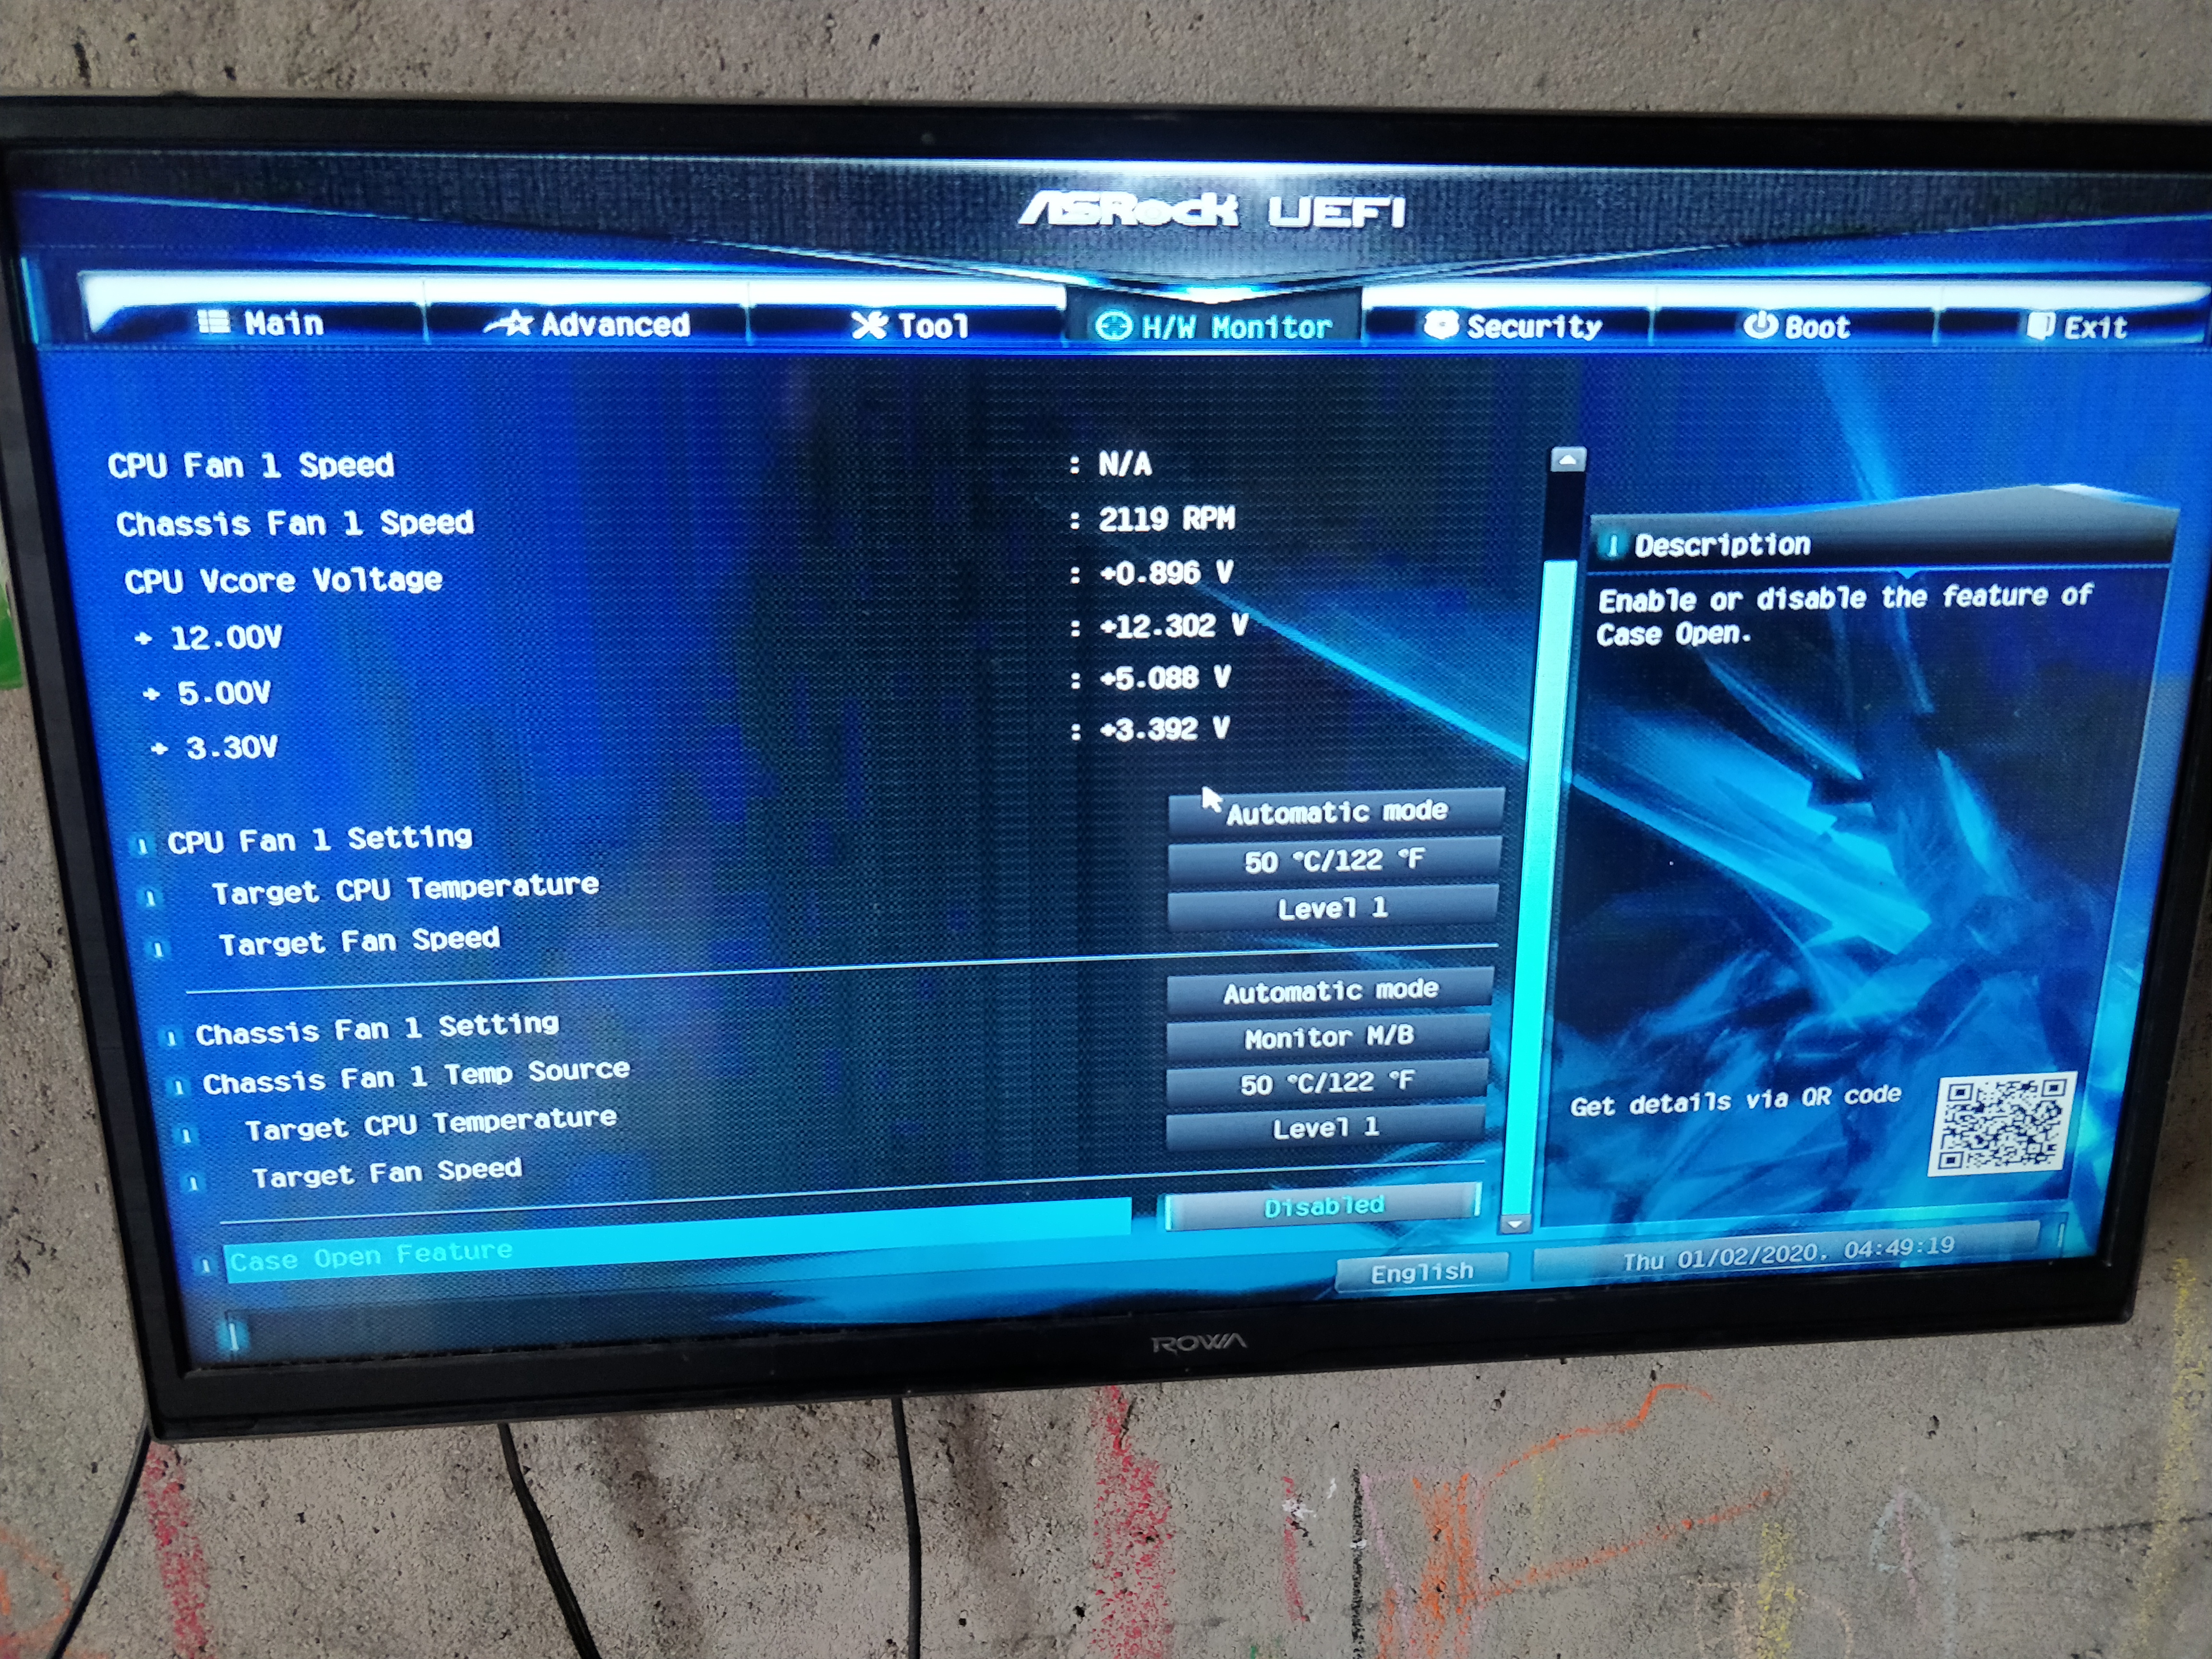 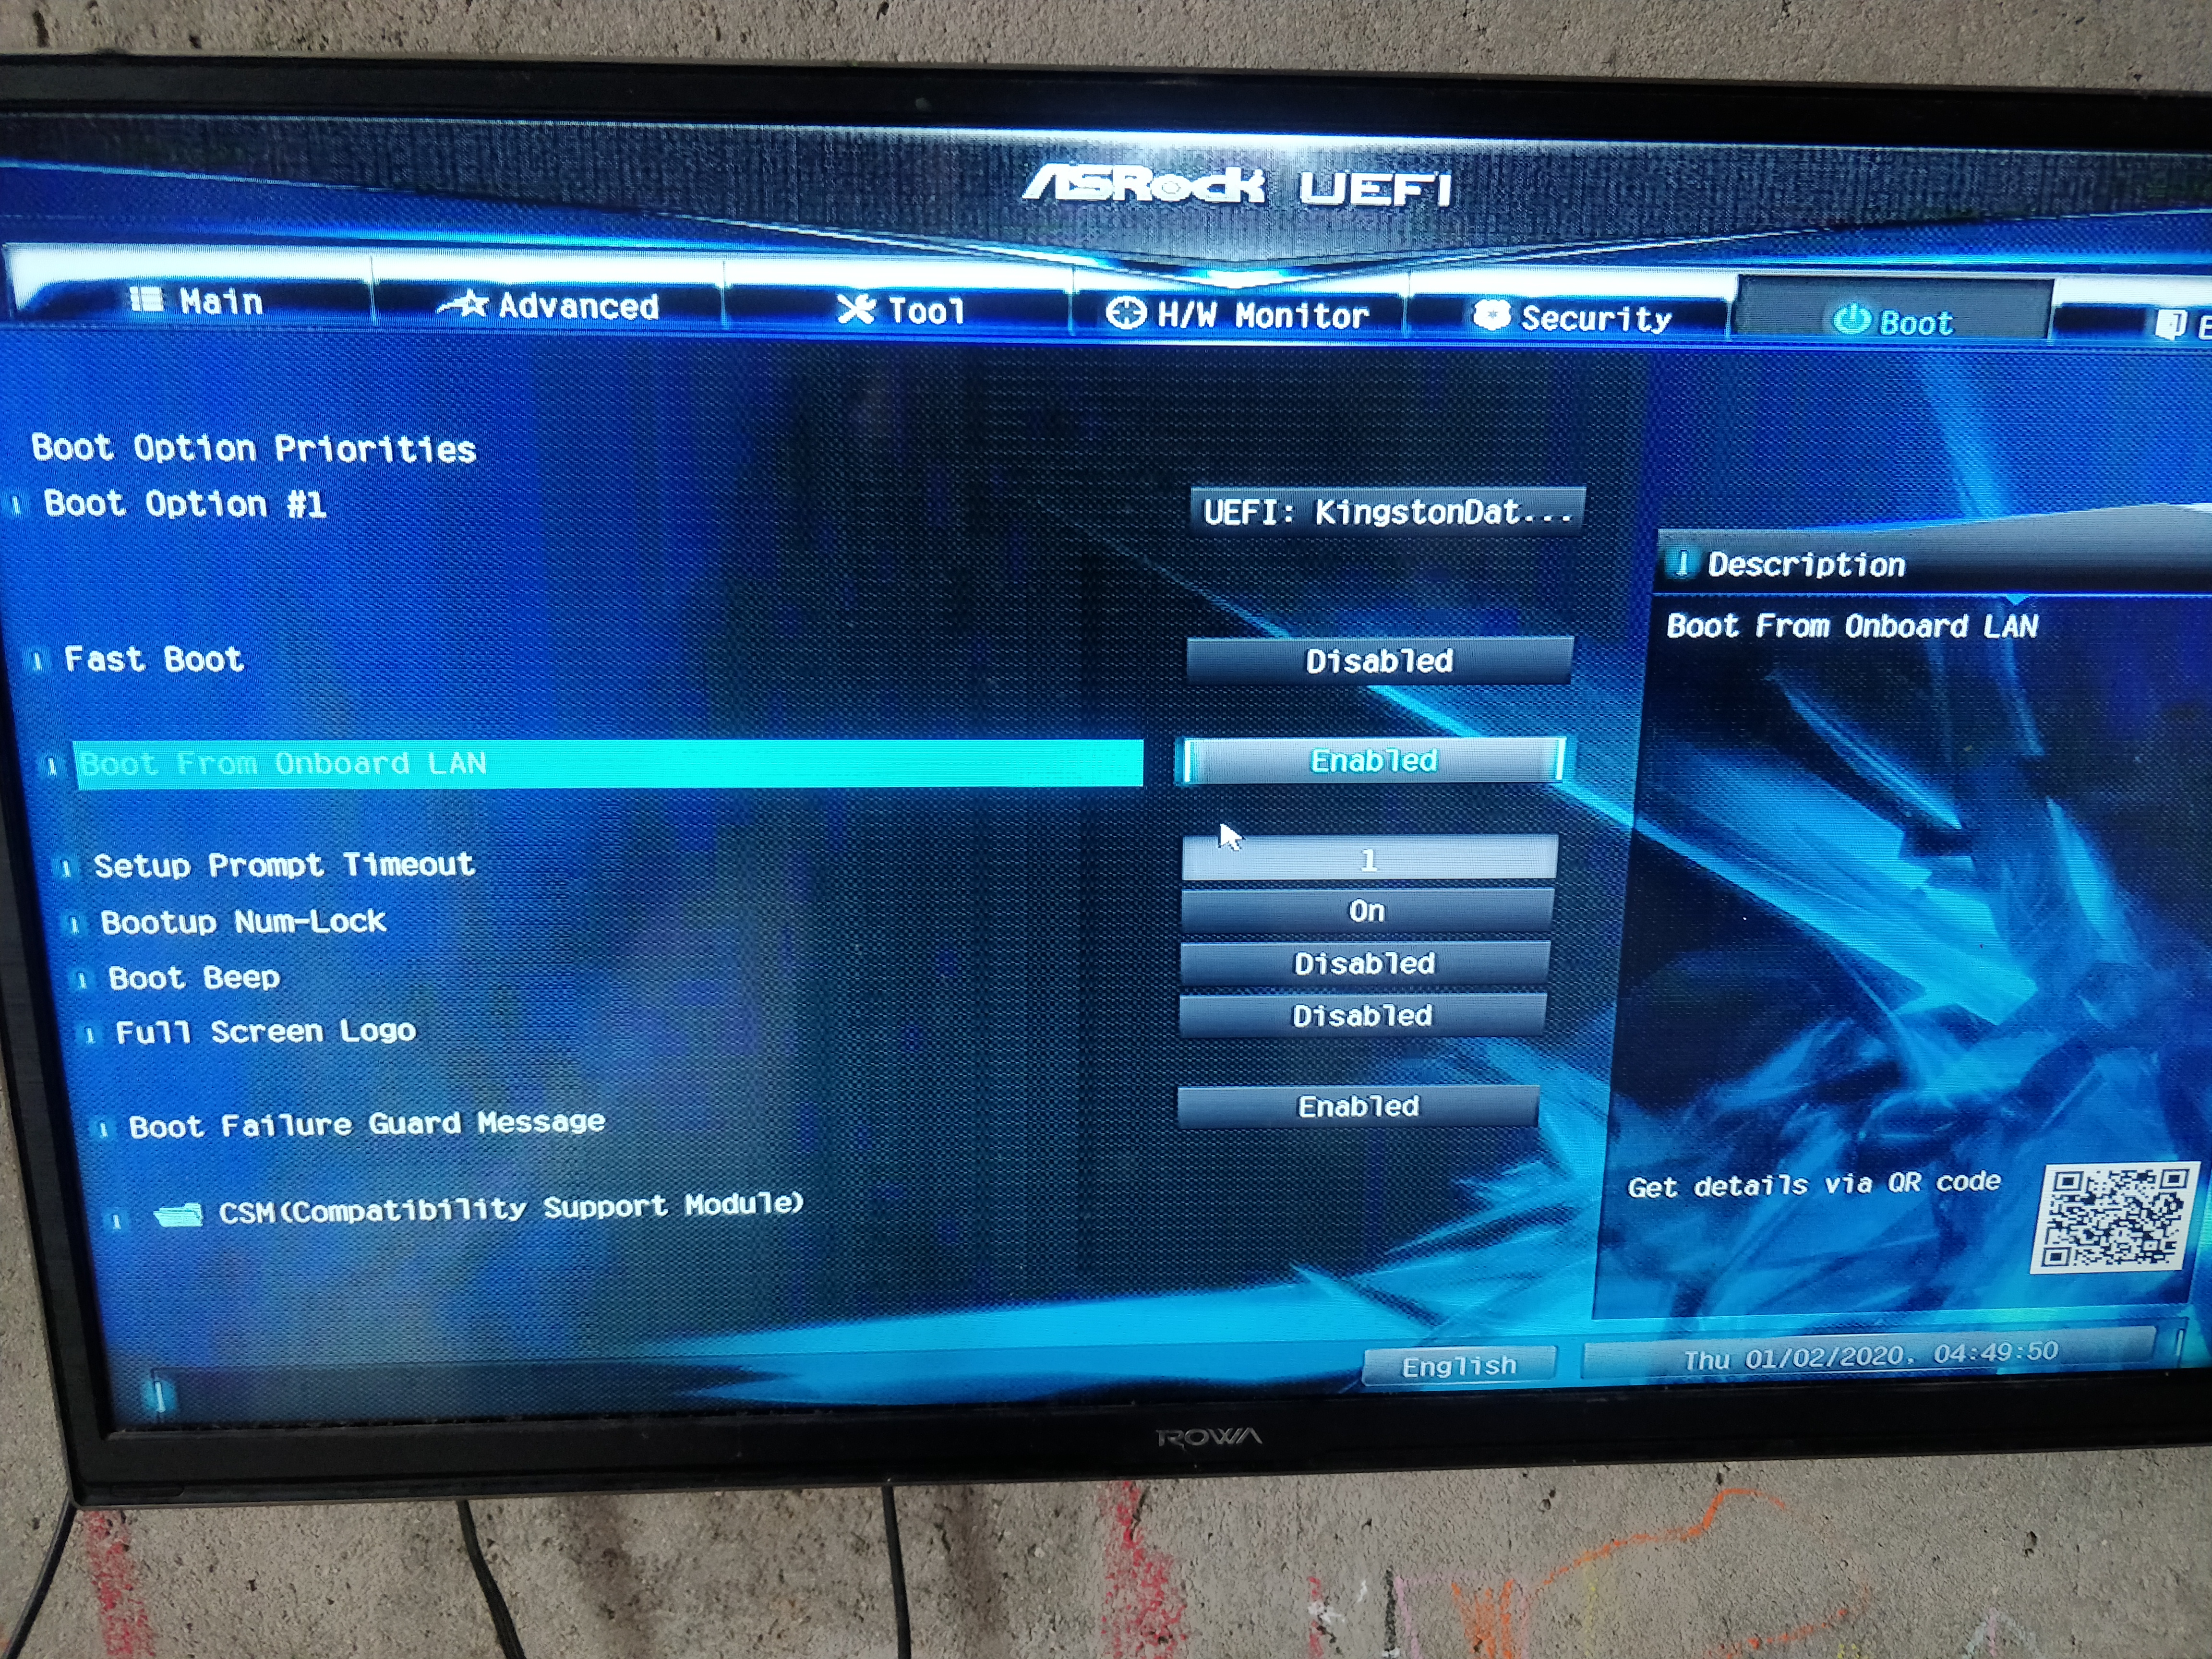 这里我还改了一个来电自启(为了防止之后家里突然停电,来电后不在家机器不能自启的情况发生) 具体在哪一栏我忘拍照了,反正是改成power on ### 开始安装 插上制作好的黑群晖启动盘,开机进入系统(记得提前在BIOS里面设置U盘优先启动) 选择第一项(还是没有拍照 ~~家里没有显示器,每次都得拔电视机的线,实在太麻烦了~~)进入系统,待系统启动完成,当显示出一串含 synology 的网址则说明系统启动成功 --- 打开群辉助手(没有的自行去官网下载,在此不就放链接啦)点击搜索 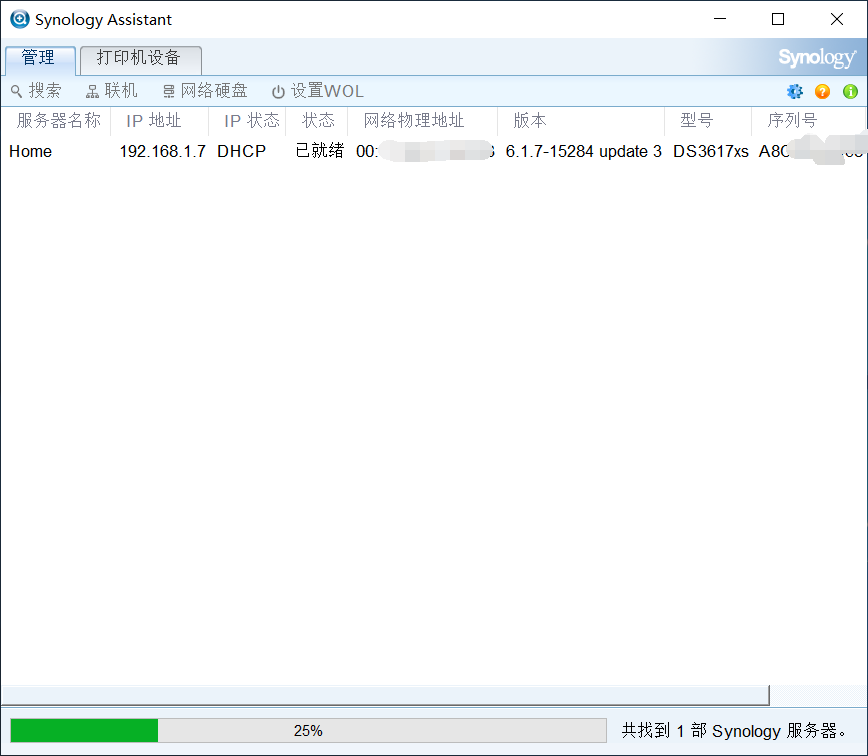 如上图所示(由于我的是已经安装成功了的,所以状态是已就绪) ,右键点击联机,则会出现下图所示界面,就可以开始安装系统啦! 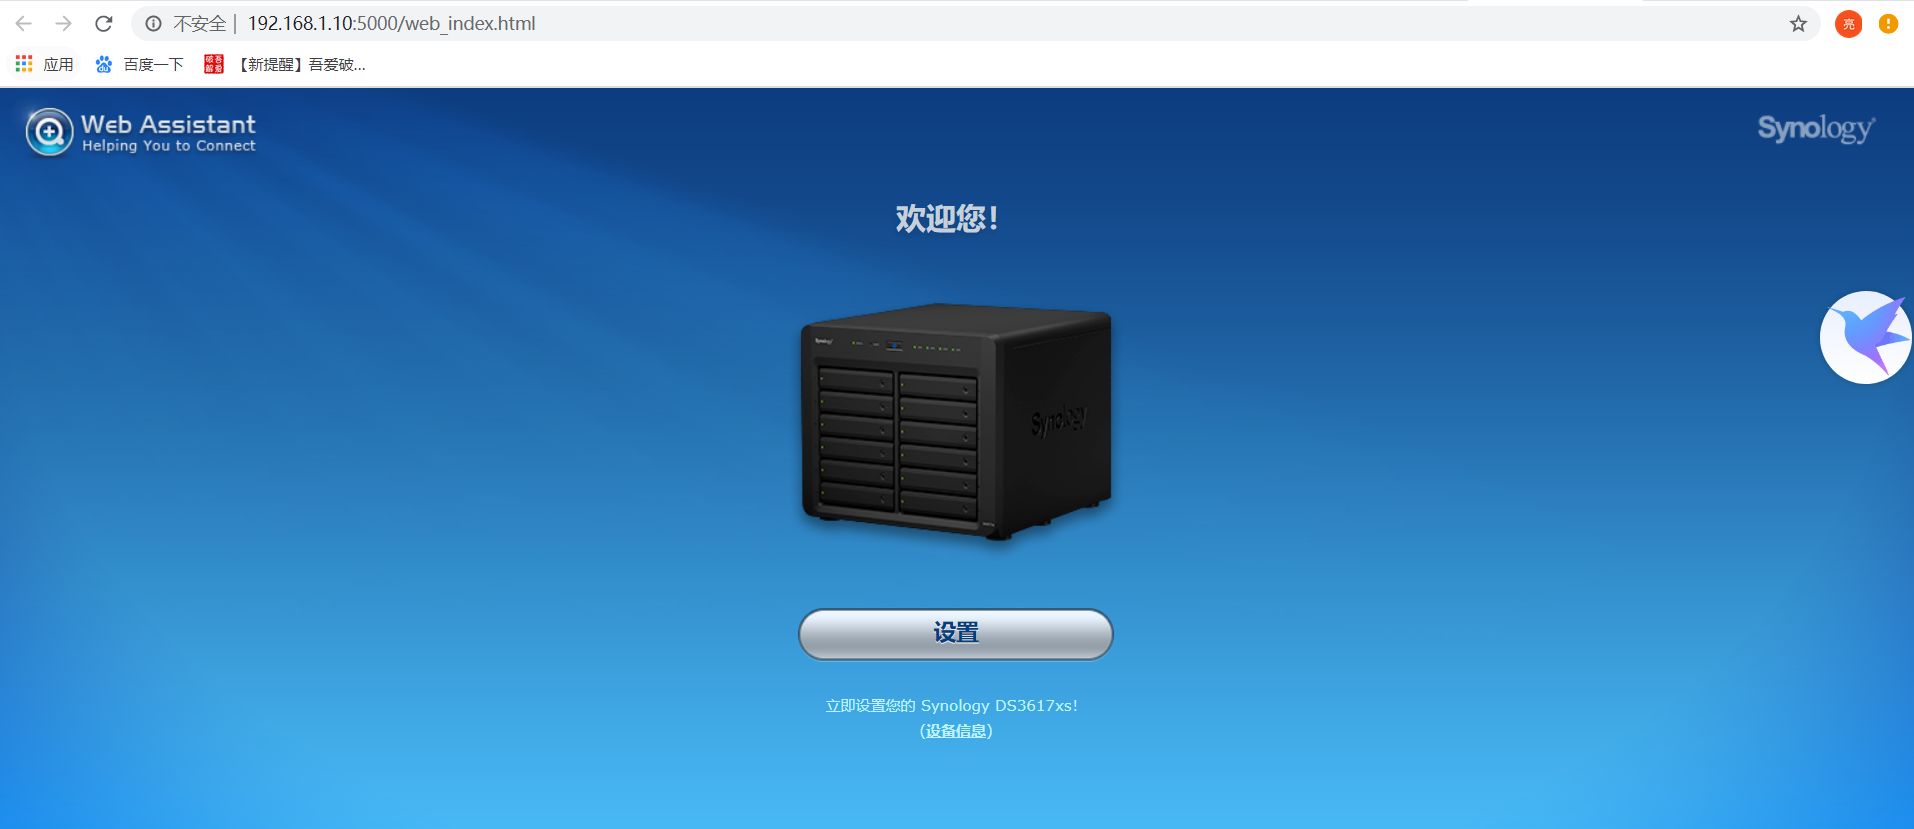 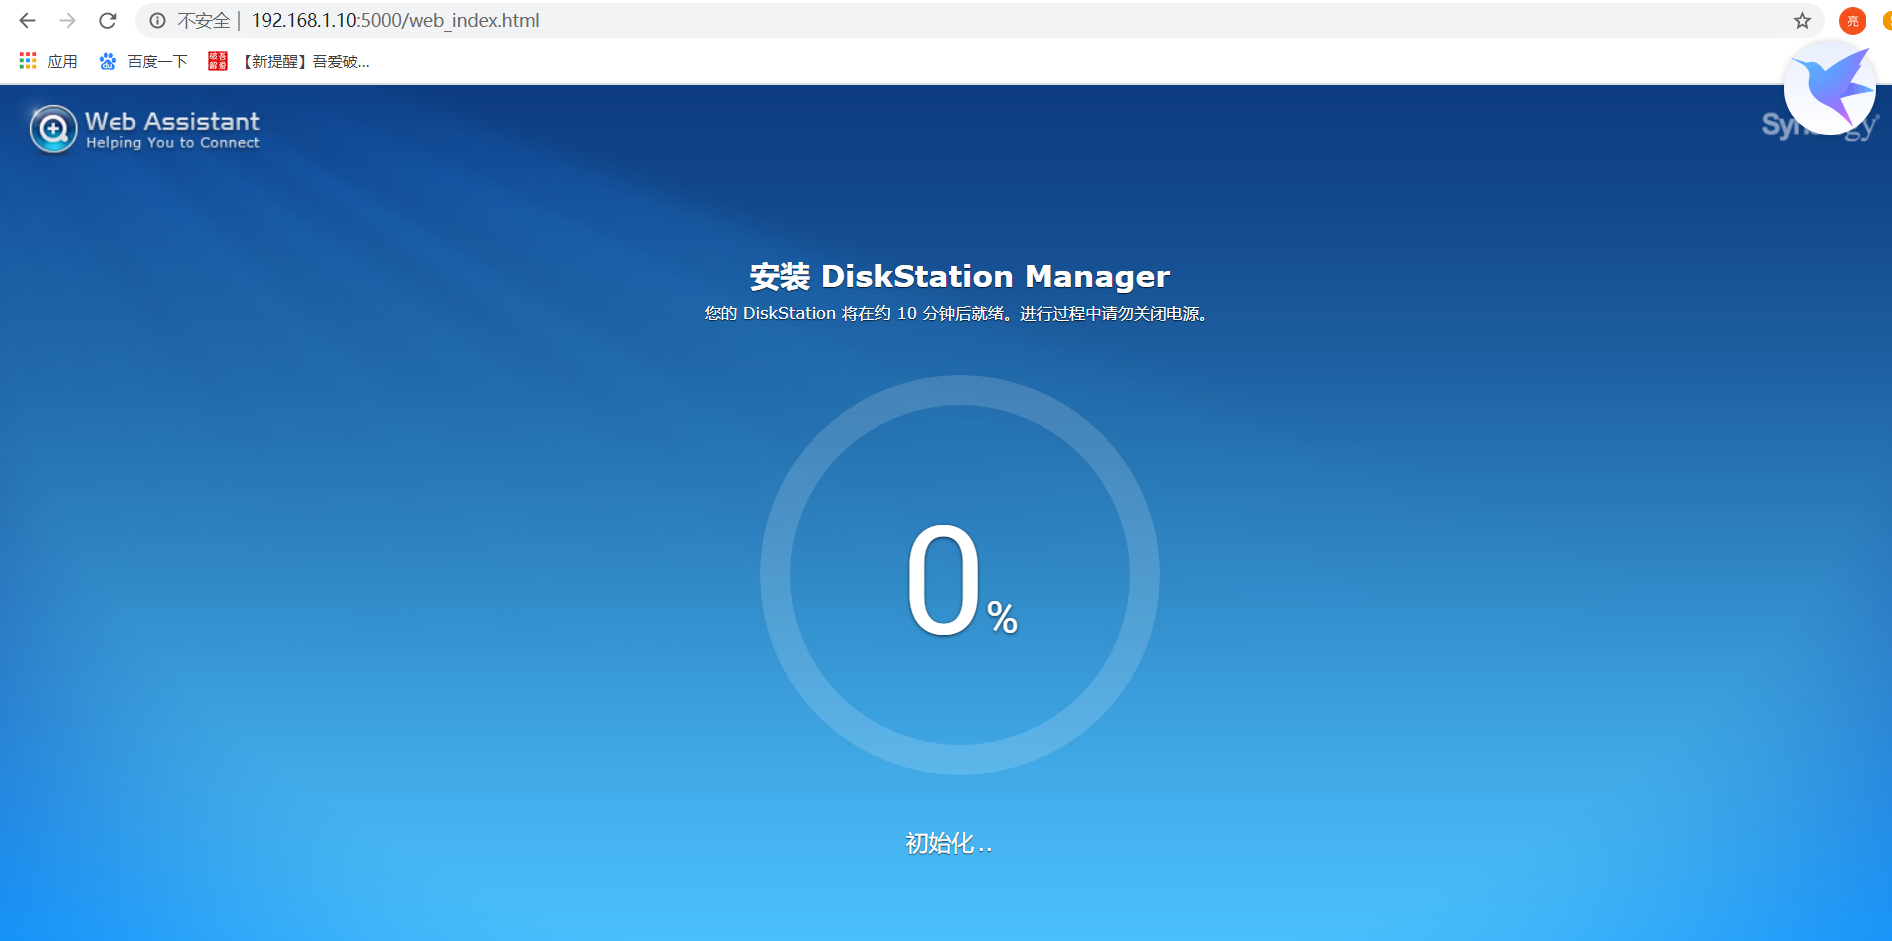 至此黑群晖系统应该已经安装完毕了。进入系统后自己修改相关设置就好! ## 番外 ### 走线篇 由于家中有小孩,而自己也不常在家的缘故,必须将机器放在一个安全,可靠 ~~(小孩碰不到)~~ 的地方----我的房间 由于家中有网线插口,并且所有的房间的网线插口最终都接到了弱电箱里面,但由于装修师傅偷懒都没帮我把网线水晶头安装好,没办法,只能自己动手咯! 上京东买网线钳,水晶头,交换机,自己动手开始接线。  在我折腾半天,终于把弱电箱内所有网线都装上水晶头后,我发现。。。。这tm什么设计,没给我留插座口,那我交换机插哪???? --- 好了,罢了。还好我买了一个网线延长器,只要把我房间的网口和光猫那的网口连接起来就好。 我去邻居家借了个插座,把交换机放到弱电箱里面,满心欢喜的连接好光猫、暴风和插座网口,发现交换机的每一个灯都不闪,我顿时懵了。这究竟是咋回事??? 排查过后我发现...... 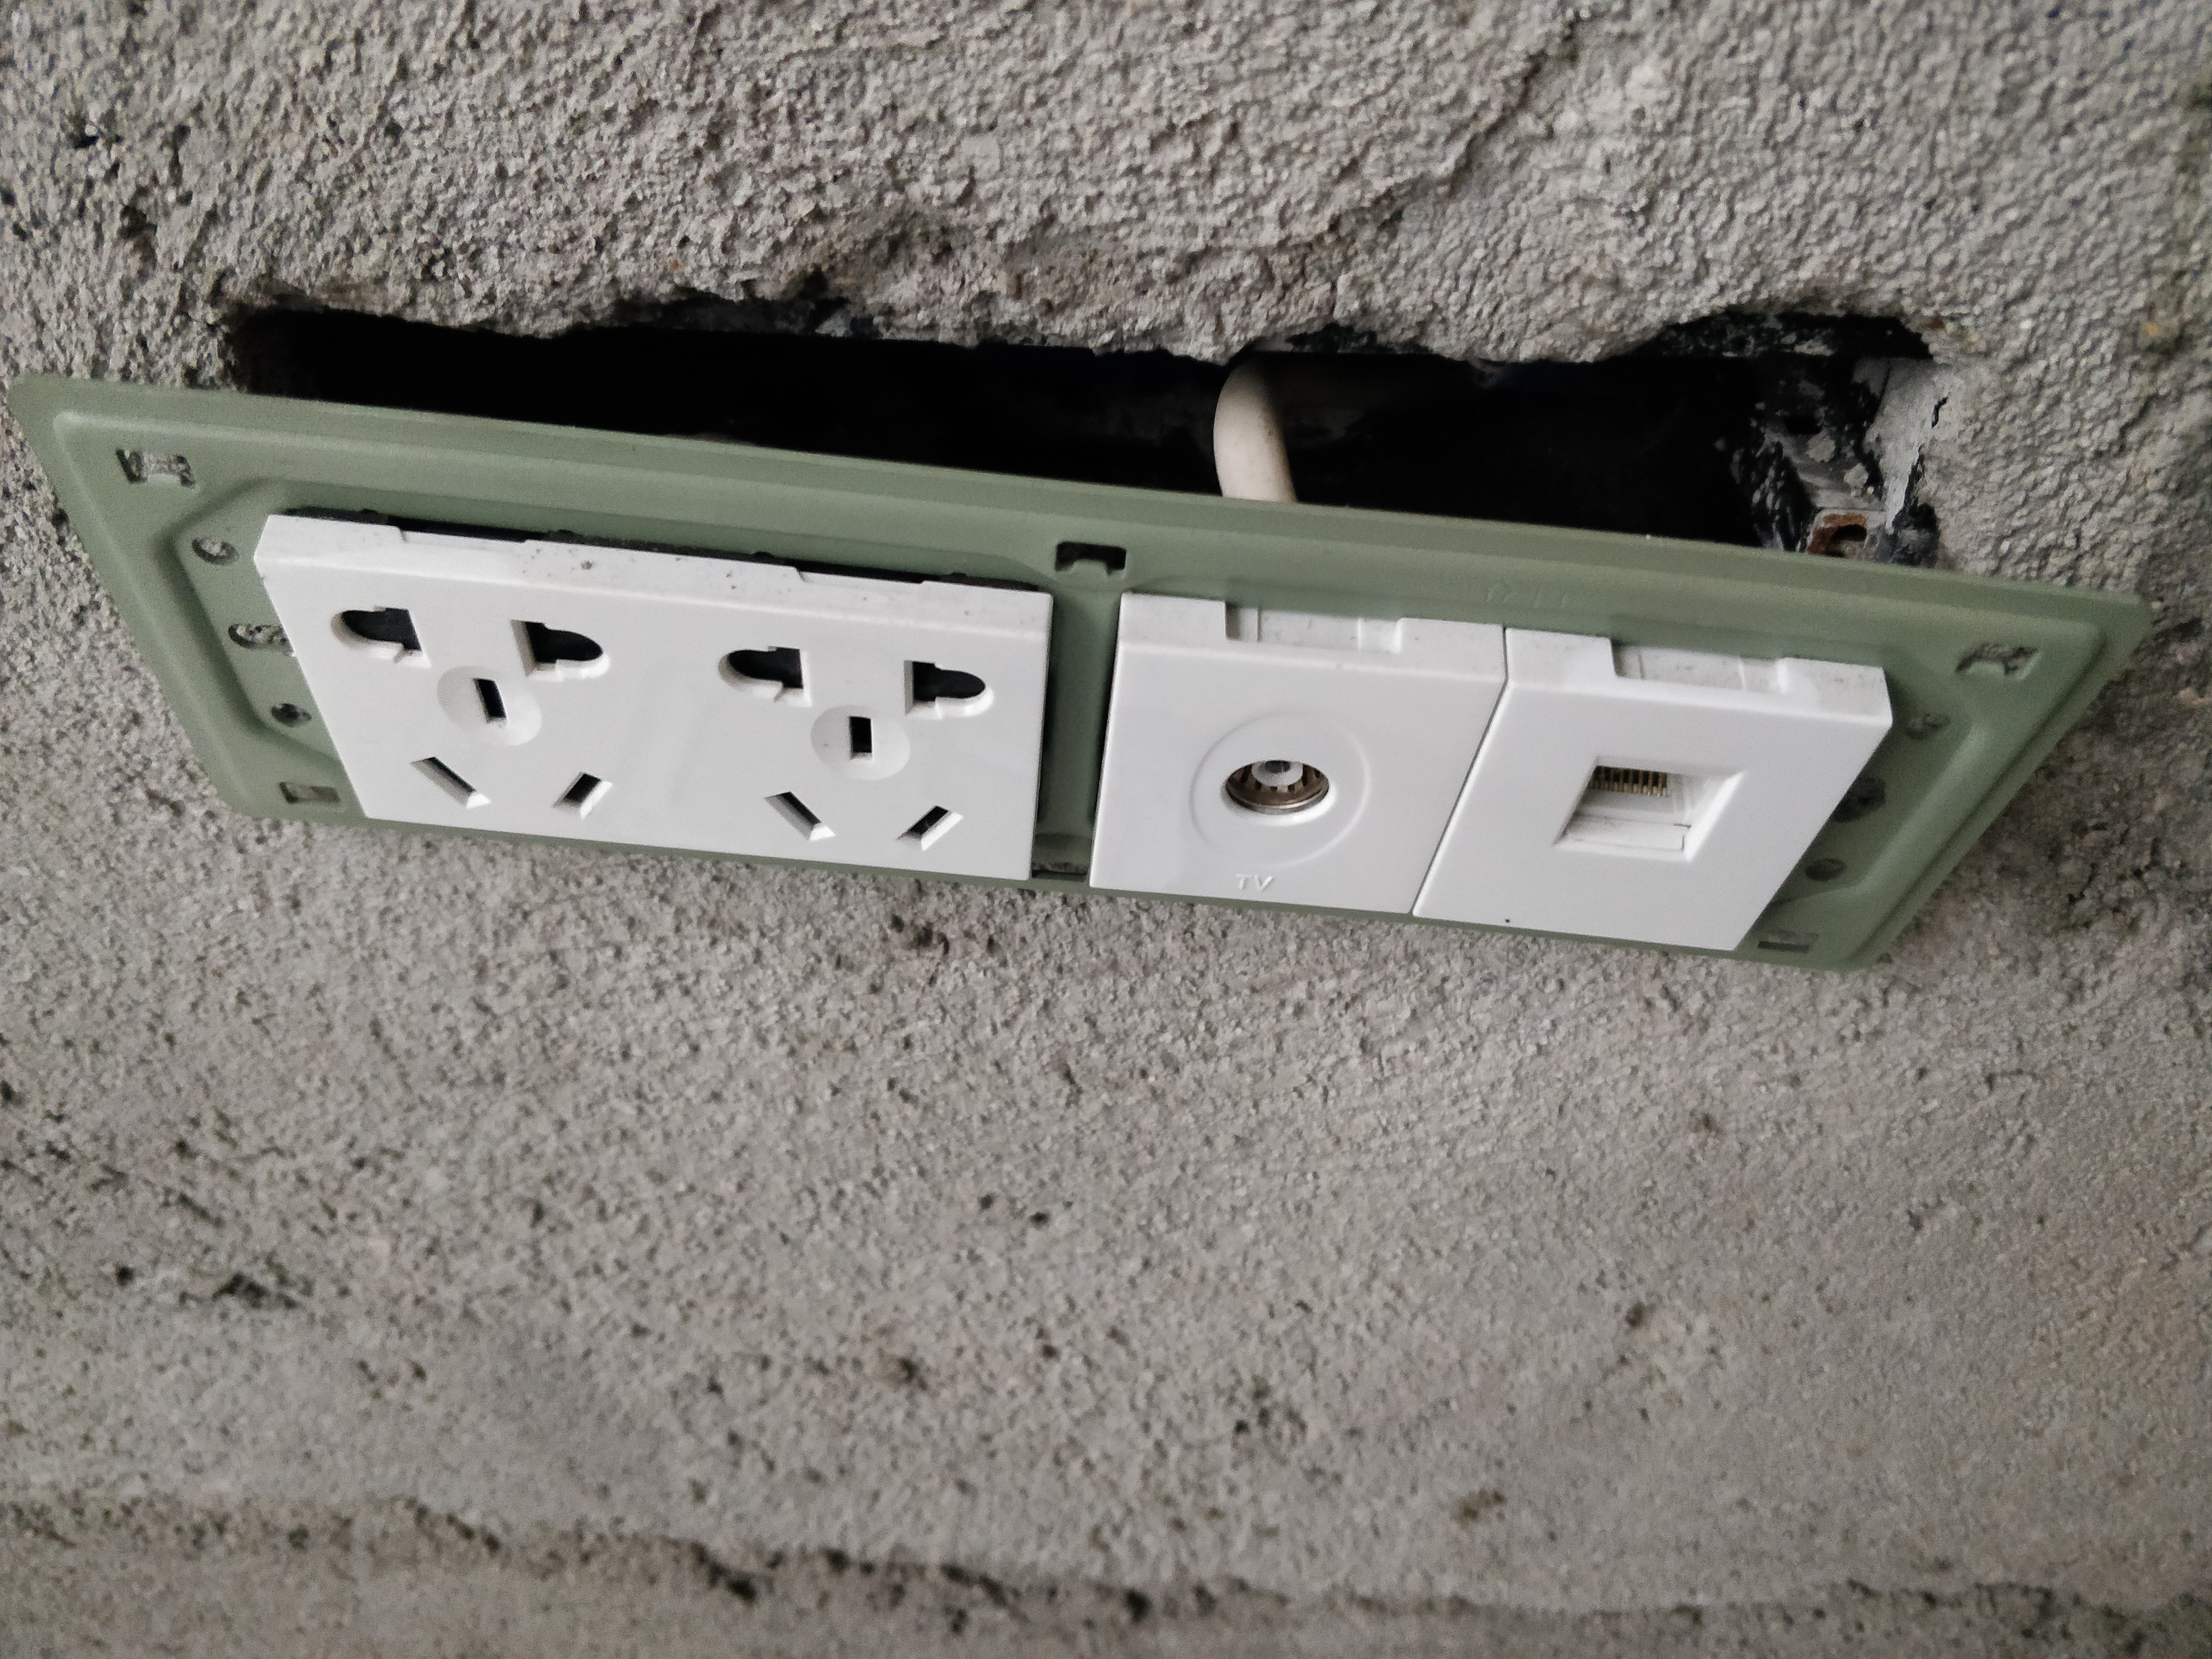 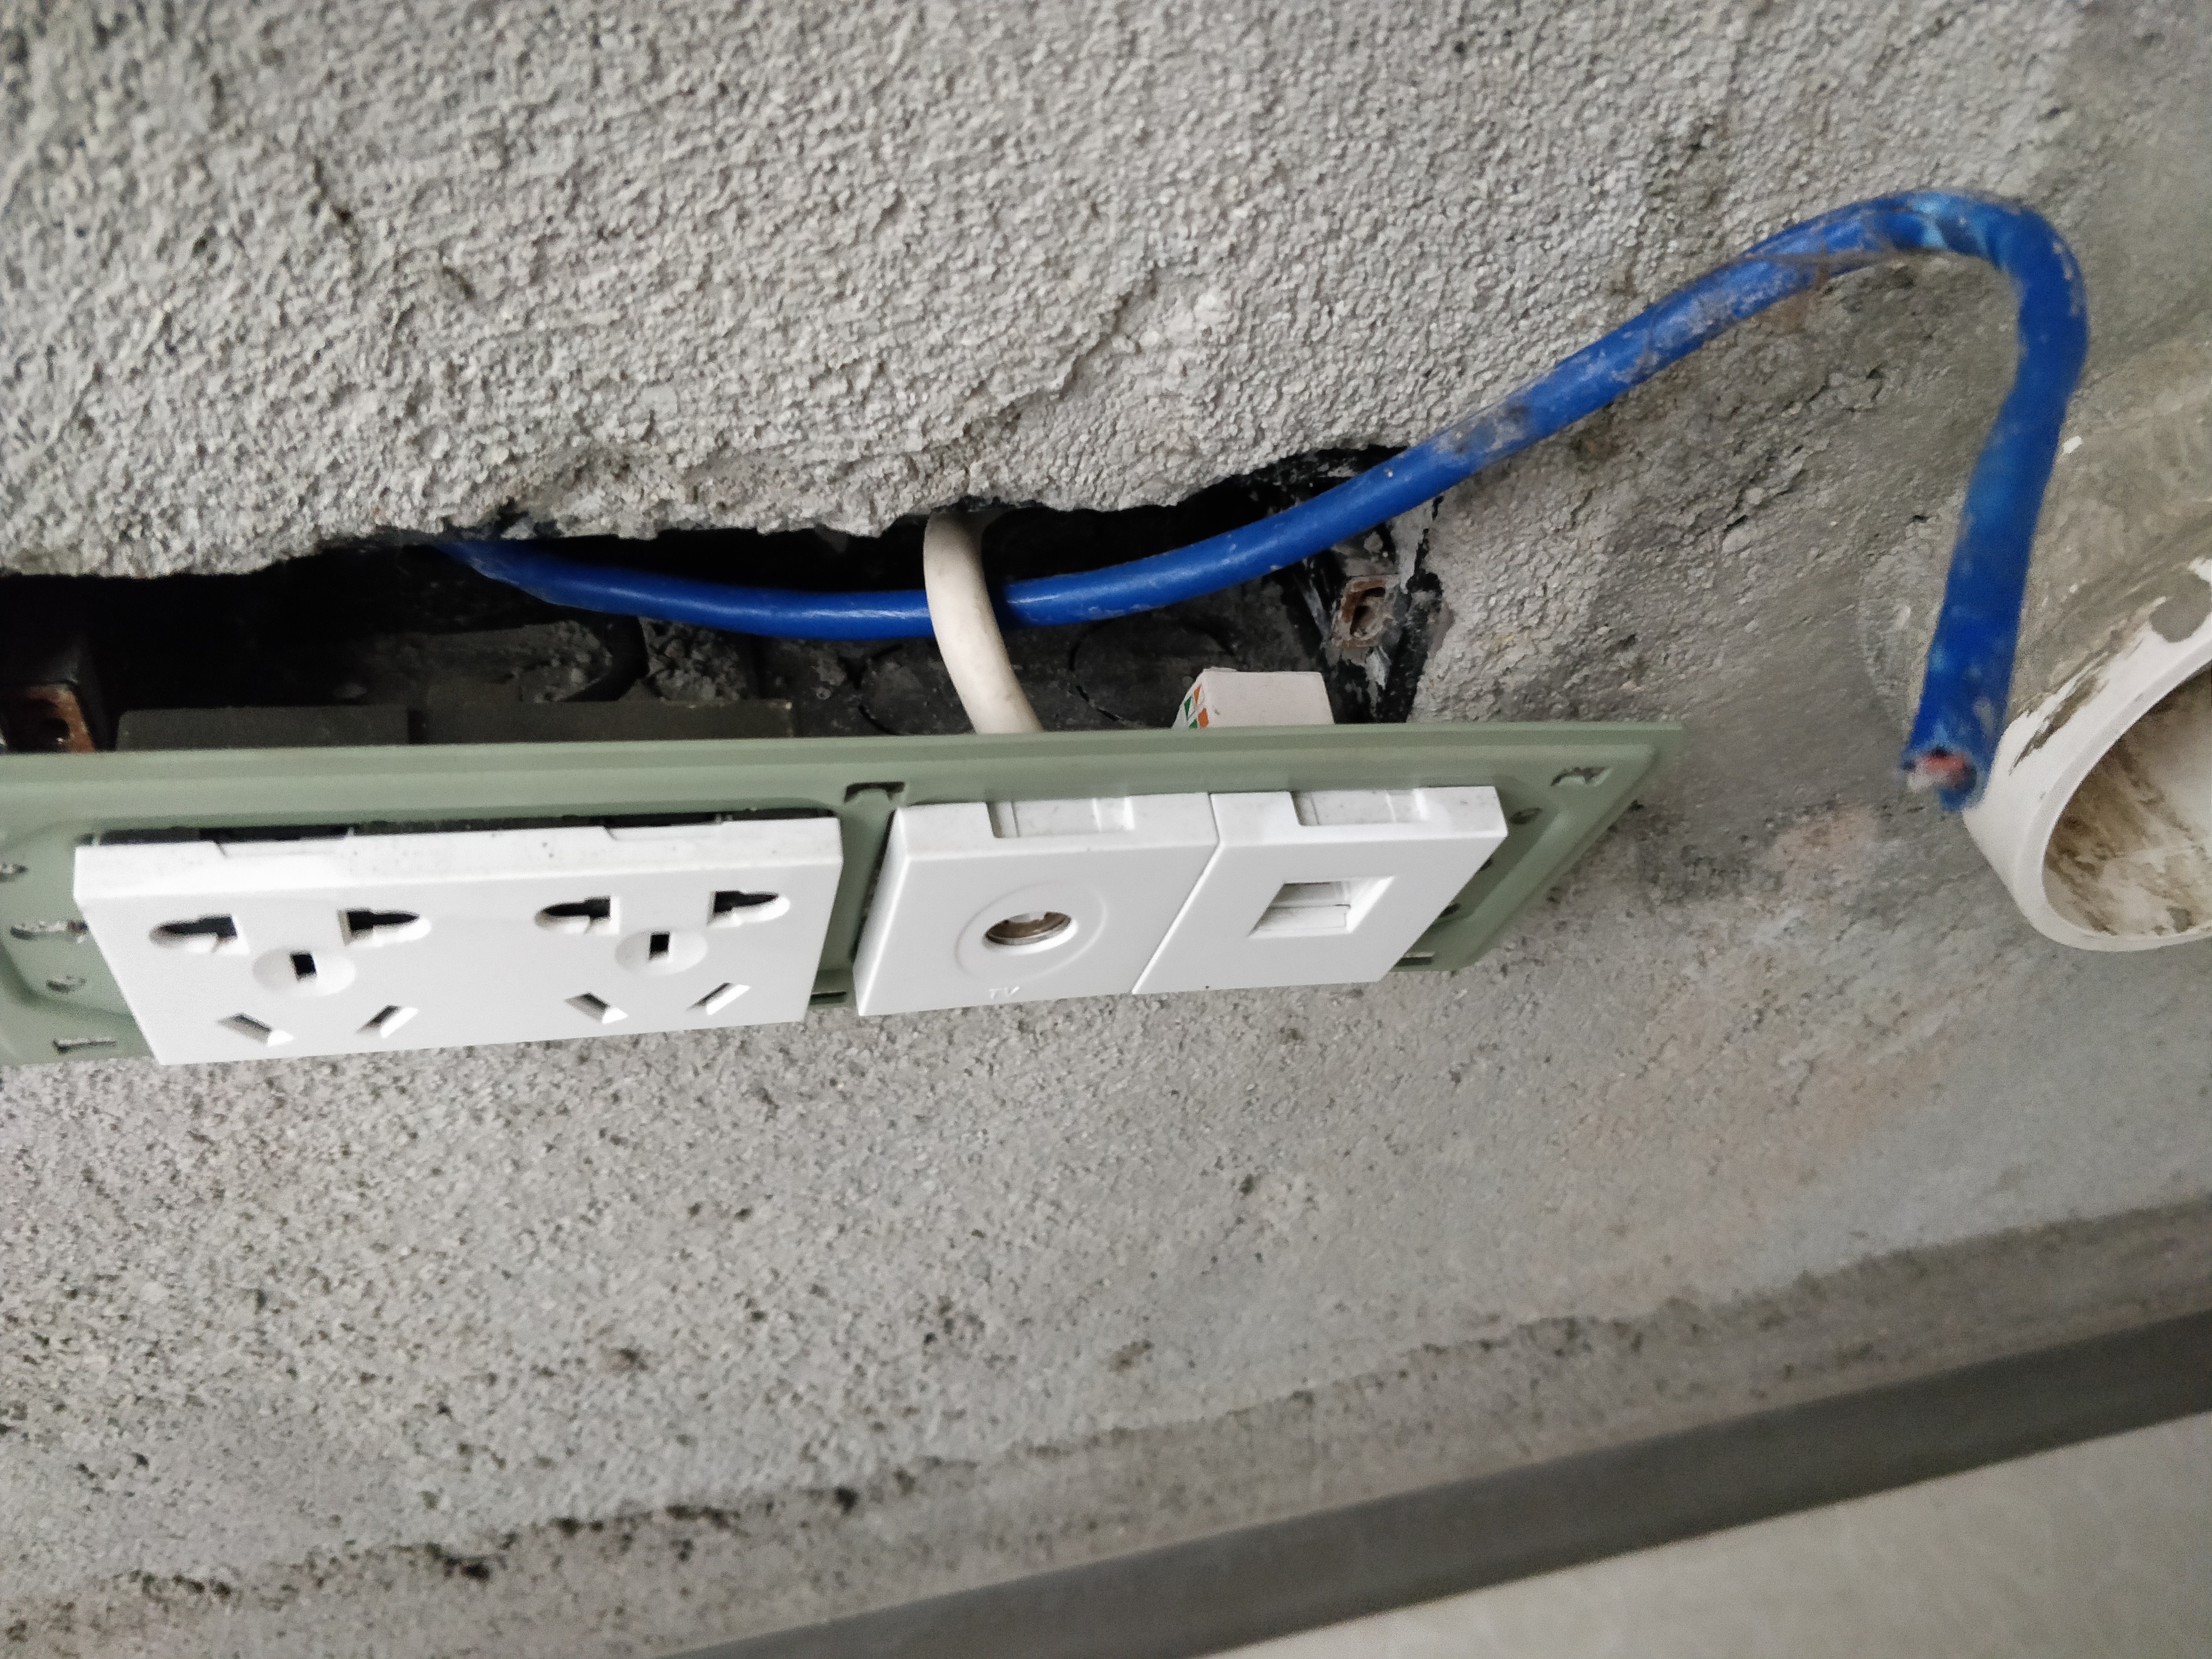 这电工师傅也太不敬业了吧,网口都没接线,我也是醉了。没办法,只好自己动手咯。 最终总算是把网口全接好了,但交换机可能是用不上了(弱电箱内木得插座),最后成果图如下。    ### SSD引导 将上述用到U盘的地方全部改为使用暴风自带的那个16gSSD,将引导系统写入SSD,之后就可以不用U盘启动黑群晖系统啦! ## 存在问题 * 局域网内网传输上传速率跑不满千兆,下载正常 * 走墙上的网口光猫只显示百兆速率,家里走的网线都是六类线,最次的也是超5类,按理说应该显示千兆才对,我怀疑是网口插座或者是网线延长器的原因,暂时就这样吧 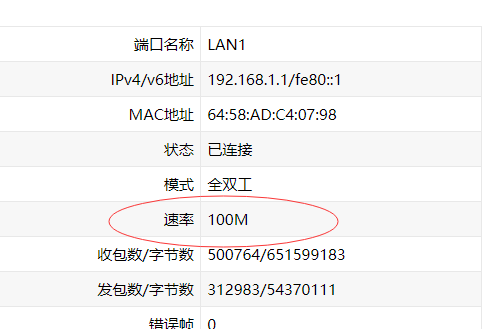 * 使用SSD引导,SSD剩余的存储空间不能使用,暂未解决。 最后修改:2020 年 03 月 14 日 © 允许规范转载 打赏 赞赏作者 支付宝微信 赞 如果觉得我的文章对你有用,请随意赞赏

2 条评论
thank u for sharing with us
希望我的文章能帮到你。